Brushes.. No More: Real Techniques Miracle Complexion Sponge
Hello Gorgeous,
Beauty Gurus have been all over Beauty Blender and this Real Techniques complexion Sponge which is an affordable version of Beauty Blender. I have started with Flat Top Kabuki Brushes to blend my foundation and I absolutely loved them but for the sake of testing I bought this Real Techniques Miracle Complexion Sponge and see what difference does it make to my face aka foundation blending :P.
Product Claims: Optimize your beauty routine with the #1 branded makeup sponge*!
- This versatile beauty tool was designed with a revolutionary foam technology to evenly blend makeup for a smooth, enhanced finish. Use damp for a dewy glow or dry for a full coverage.
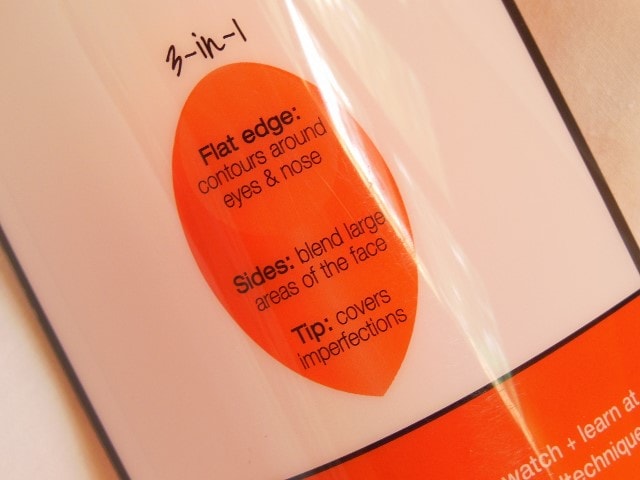
- Rounded sides blend large areas of the face with a dabbing motion.
- Precision tip covers blemishes and imperfections.
- Flat edge for contouring around the eyes and nose.
- Ideal for liquid foundation.
For best results, replace your makeup sponge every 1-3 months.
Price: $11 for pack of two / $6 for one (Buy on Amazon.in for Rs 999)
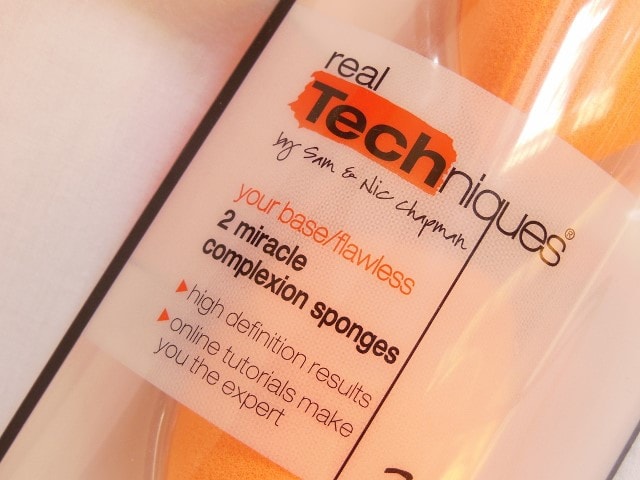
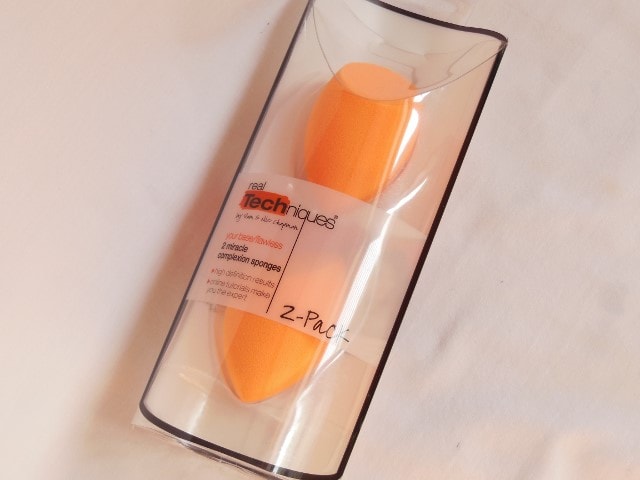
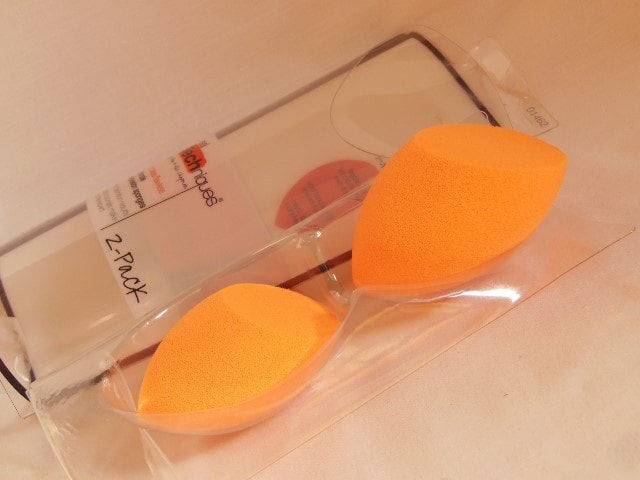
Packaging: Real Techniques Miracle Complexion Sponge comes in the signature Real Techniques packaging with a clear plastic case carrying all the instructions and inside that the sponges are rested on a clear plastic tray.
My experience with Real Techniques Miracle Complexion Sponge:
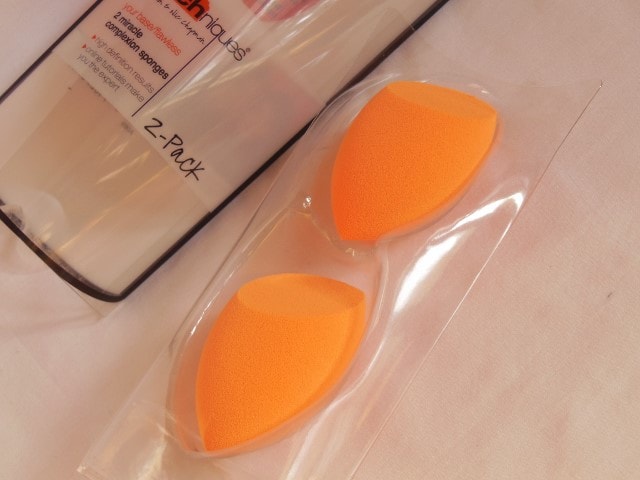
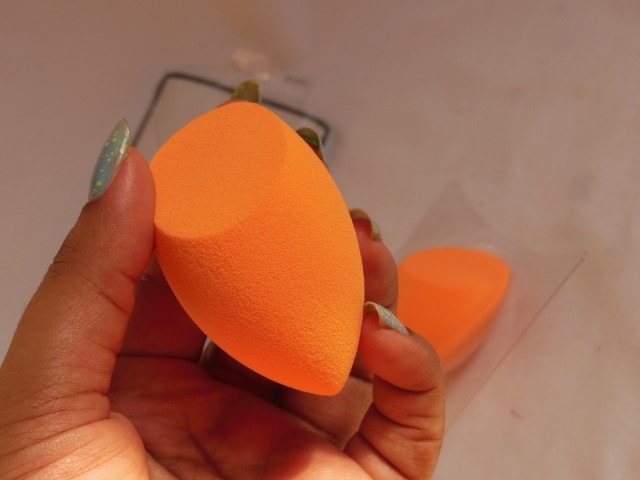
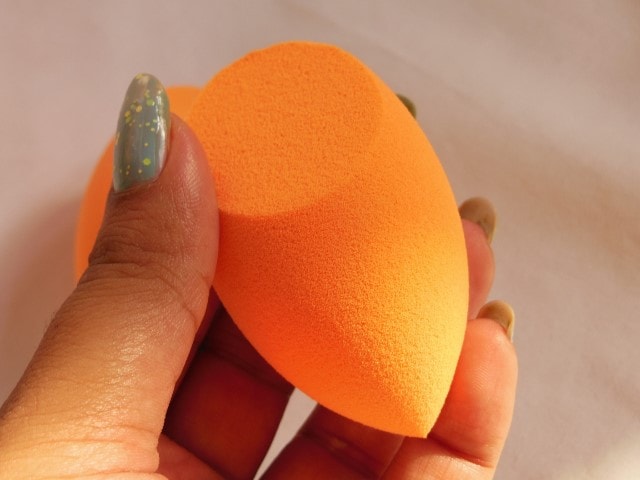
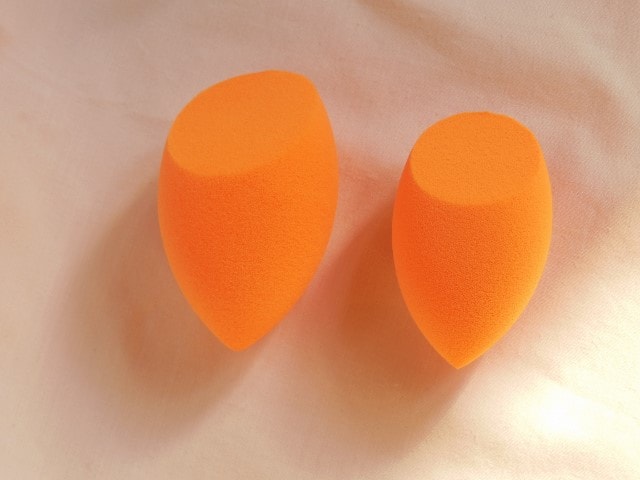
Real Techniques Miracle Complexion Sponge is as you all know an orange colored sponge with one pointed tip and other one with a slanted edge.
Usage: They say that it can be used dry but I feel it will be a lot of effort and product wastage so I always use it wet. And this is how I do it:
- Take the dry sponge under running water
- Start squeezing it between palms and repeat the process 6-7 times, until you feel that the sponge has softened and fluffed up enough. It will grow to almost double of its size and you see that in the pictures below
- Place it in a dry towel and squeeze one last time( just slightly) to take off any excess water from the sponge
Application: With the brushes we usually swirl them around the face to buff the product into the skin but with sponges the best way to apply is to just dab/bounce them all over the face because if I try to sweep it across face it lifts the product and doesn’t give even coverage. There are two way to use this sponge for Foundation Blending-
- Pick the foundation directly with the sponge: This method does work but I feel I have to use a lot of product to get an even coverage and also it requires more efforts in blending to distribute the product evenly on face.
- Dot foundation first and then blend with the Sponge: This method works like magic for me. I dot my foundation all over my face and then just bounce this sponge and within a minute or two my foundation is all blended and done.
Results: It looks like a lot of effort but trust me it blends the foundation faster than any of the makeup brushes I have used including my favorite SIGMA F80 and SIGMA 3DHD Foundation brush. And the best part about using this sponge is Finish.. It gives that perfect blended look to my skin that even I couldn’t make out if I am wearing anything. It pushes the product into the skin and picks up all the excess for flawless looking finish. When I am saying this trust me this is the best ever tool I have used for base makeup application.
How to Clean: I was a little skeptical about how I will be able to clean it and push out all the foundation/concealer that has seeped into the sponge but I found out the easy and best way to do the same.
- Just use any regular soap and swipe the dirty sponge over the soap 4-5 times till it picks up a good amount of it.
- Now under the running water start again with the squeezing process and you will the makeup residue coming off the sponge.
- Repeat it 3-4 times till you get the sponge absolutely clean and no makeup residue is left behind
The whole process takes less than 5 minutes 🙂
Quick Tips: It is a sponge so it will not last forever like brushes so here are some quick tips to make it last longer.
- Don’t dig your nails in the Sponge
- Don’t be too harsh while handling the sponge
- Don’t twist the sponge.
- Place it between palms to squeeze or clean so that its shape remains intact
Storage: The only issue I have with this sponge is storage, like where should I keep it on a daily basis. I feel a clean jar with a lid would be the best option as that ways the sponge won’t come in contact with dirt and dust but put the lid only when the sponge is completely dry or the bacteria will breed in there
Recommendation: Real Techniques Miracle Complexion Sponge is one of the best tools for blending cream/liquid foundations into the skin. It pushes the product into the skin and lift off all the excess for that beautiful natural looking flawless finish. There are no streaks or whatsoever with this sponge. I also feel layering the product is quite easier with this sponge as it never makes the application look cakey. I haven’t tried the much raved about beauty blender as of yet but for the price tag I guess I am loving Real Techniques way too much and would never like to replace it with anything. I am just wondering what I will do with all those Flat top kabuki brushes that were meant for Foundations 😛 . Highly Recommended!
Check it out this sponge action on my Youtube Channel
Rating: 5/5
Have you tried Real Techniques Miracle Complexion Sponge? Which is your favorite tool to apply foundation?
View Comments (5)
Lovely review! I still have to try these out!
Very detailed review. Even I love this and BB over any brush. It's a great product!
I love this sponge. Makes it so easy to apply makeup.
I'm yet to try makeup sponge..I use my RT Expert face brush to blend my foundation :)
Nice review,...